The review can result in one of three outcomes:
- The team may notice plagiarized code or code that is not according to acceptable standards (hard coding values, rendering static webpages, etc) and reject the submission.
- The team may suggest some changes to the code to align to standards. For example, ESLint issues and warnings would have to be fixed, if your code contains Javascript.
- The team might accept your code as is and make small changes wherever required, to ensure it fits the template for a code sample.
- If the use case is for creating a Slackbot, authentication with Slack also needs to covered.
- f the use case involves installing certain dependencies, the installation process needs to be covered.
- If any configuration is required in an application to receive messages from a webhook in a SaaS application, then the configuration details should be mentioned.
1. Installing and running a code sample
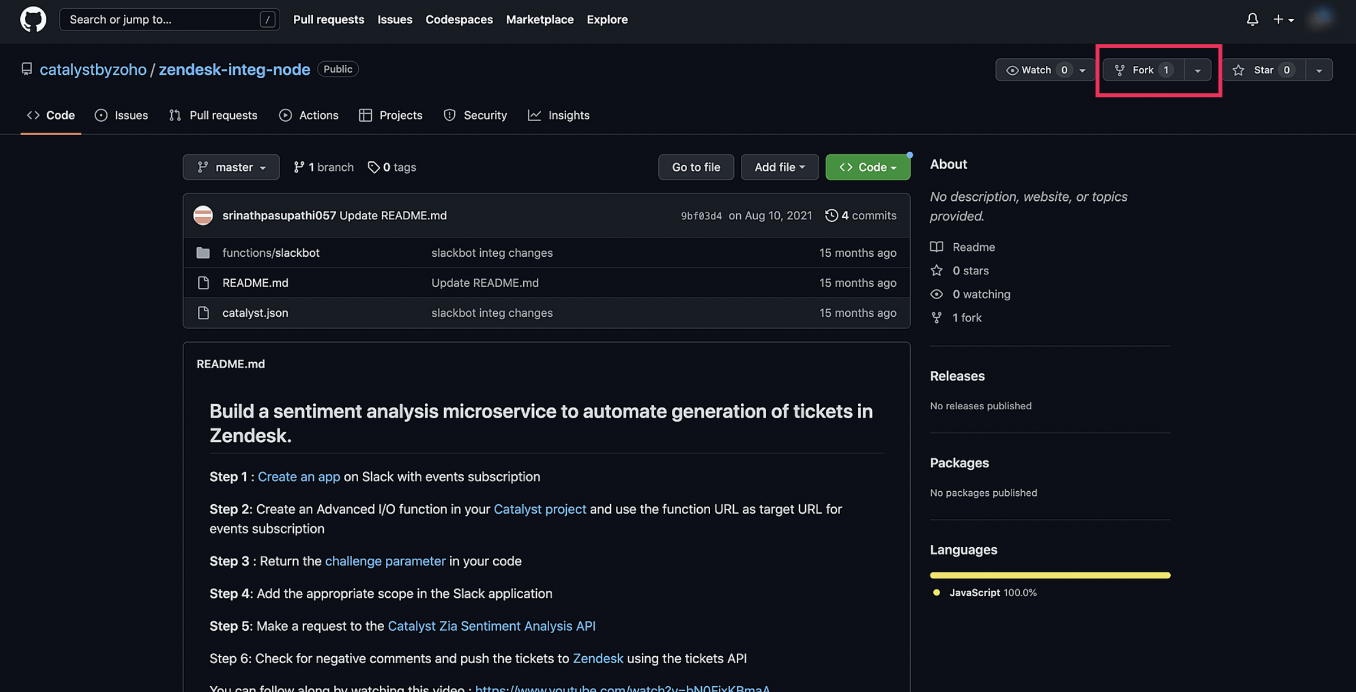
Create a new project from the Catalyst console. Then fork this repository from Github to create a copy of it within your account.


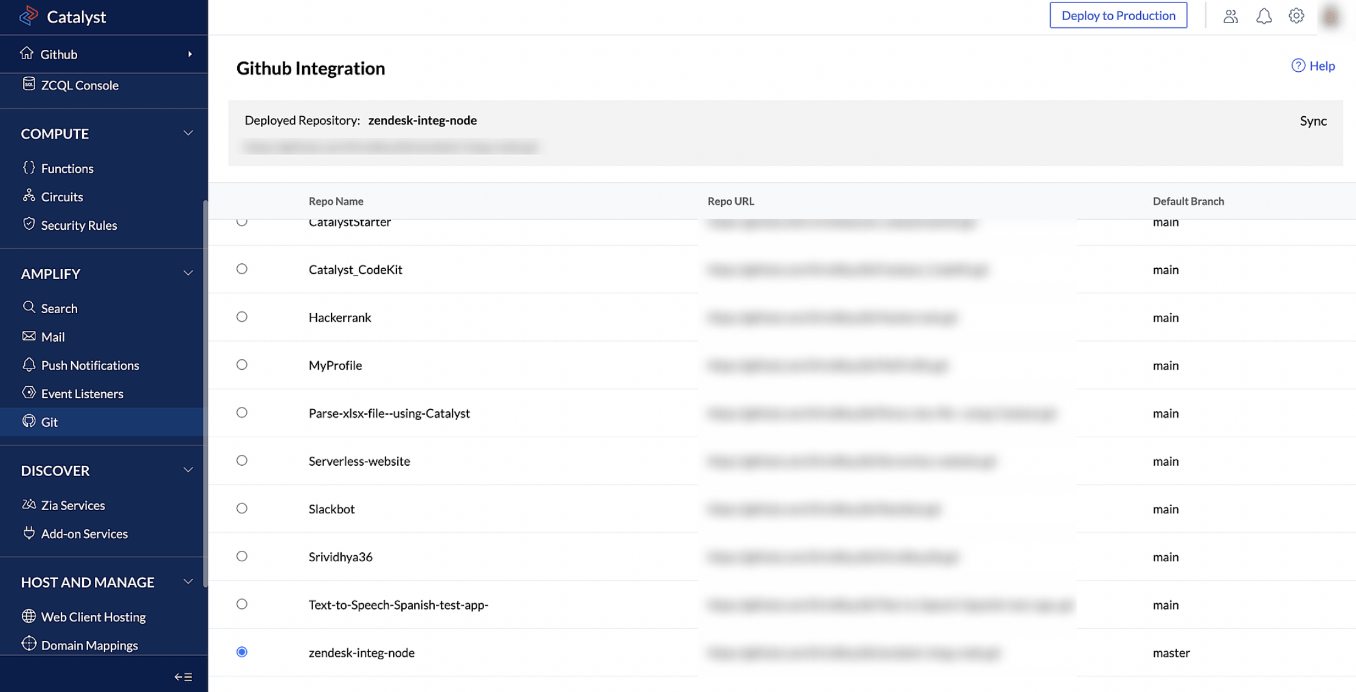
Connect to the GitHub repository from the Catalyst console. This might involve an authorization step, where you'll authorize Catalyst to access your code repositories. Right after that, you'll find a list of code repositories within the Catalyst console. Choose the respective project and branch to pull the code into your Catalyst project.
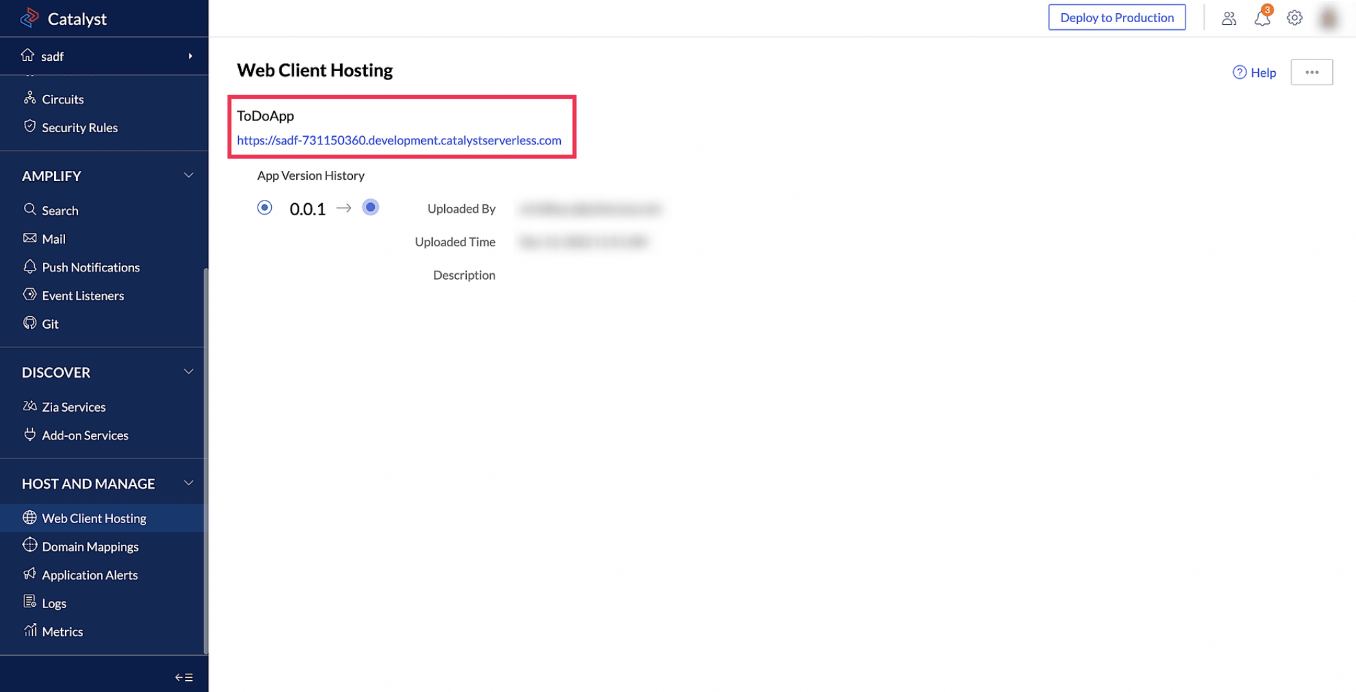
The project will now be available in your account, where you can test it and deploy it to production. If your project contains a web client, the Web Client Hosting tab will provide the deployed URL of the web app.

2. Deploying a code sample

Once the project in your account has been tested, it can be deployed to production by clicking on the Deploy to production button.
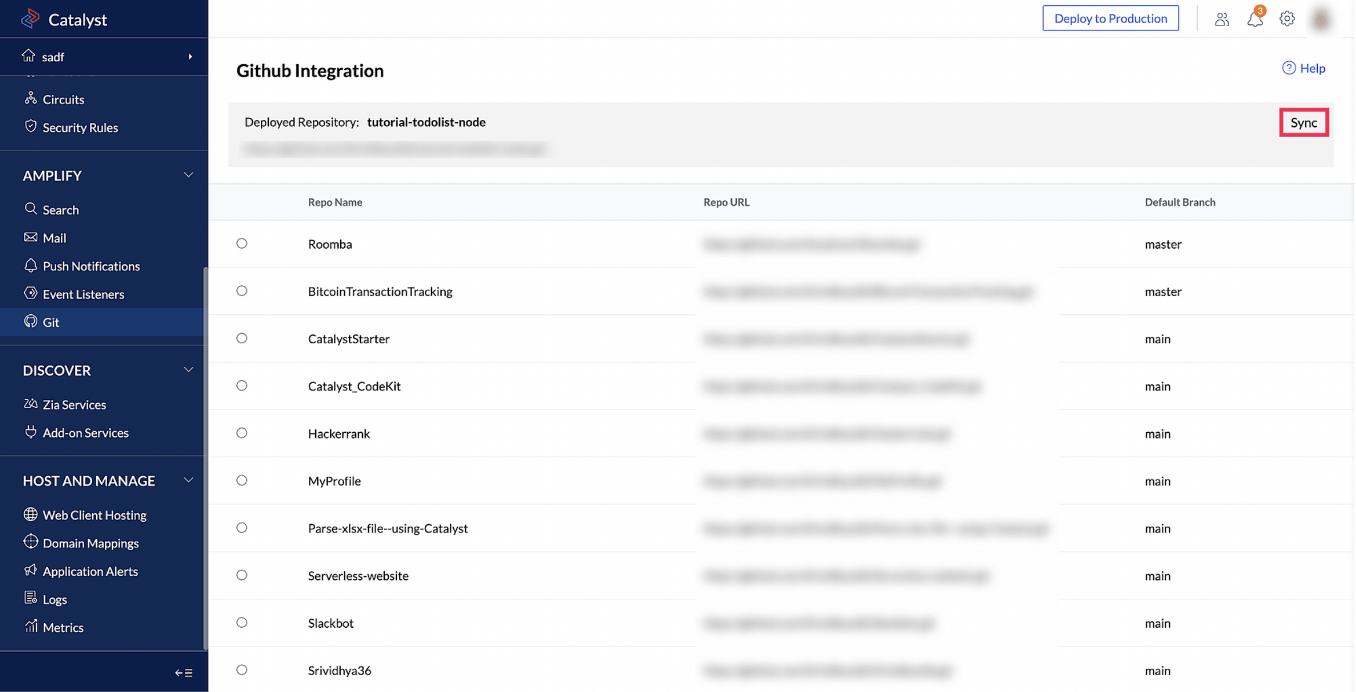
If any changes have been made in the Github repository, you can sync them to your Catalyst by clicking the Sync button.
3. Testing the sample and cost
You can test the sample in the development sandbox, after your code is available in the console. The development sandbox is a complete replica of the production environment, and is available for free.
4. Building the project from scratch
Install the Catalyst CLI and initialize a Catalyst project using the catalyst init command.
1 npm install -g zcatalyst-cli
2 catalyst initCreate an [the required components] Advanced I/O Function and a Basic Web Client from the terminal.
What we need from you:
Catalyst Component
Component Name
Configuration
Data Store
Table - Employee Details
Empname - Text
Empid - IntegerAdvanced I/O Function
mainfunction
express template
As mentioned, create the following components in your project. The code for the project is now available in the Github repository.